“Learning to facet without instruction can be done with patience and a lot of time. Best to have some instruction when cutting your first gem as there is much to learn. Faceting is not difficult but faceting some materials can be very challenging and can take years of experience before being successful.” – Dave Van Dieren
Faceting Machines
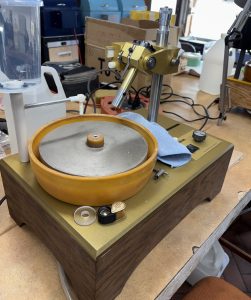
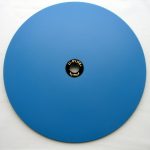
Facetron
In order to cut a gemstone you need or must have access to a faceting machine. The Club has an older style Facetron machine that has hardly been used and is really brand new.
I think for an expert facetor the best machine is the Ultratec V5 Digital (www.ultratec-facet.com) followed by the V5 Analog and the Facetron (www.facetron.com) after that there are the rest which may or may not be any good.
Faceting Designs
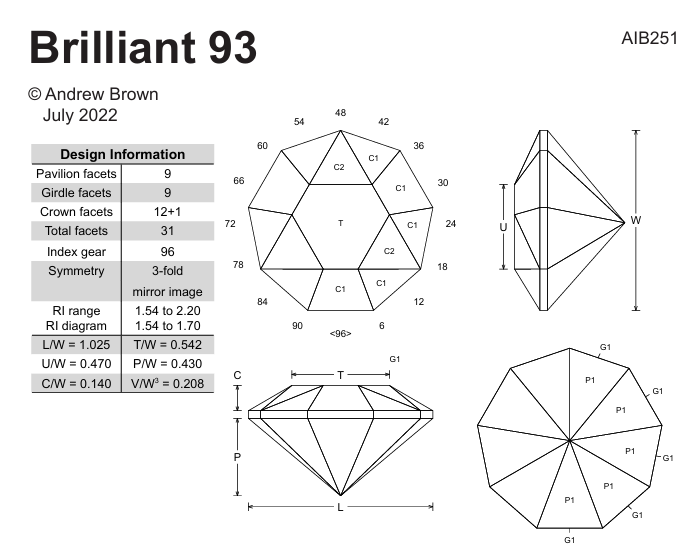
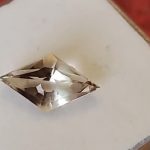
Nonagon Brilliant 93. The first design from "Twelve Easy Gemstone Faceting Designs" by A. Brown and M. Oros
Traditionally the first design beginners cut was the round brilliant. I have found that this is not a good design to start with and started using the Simple Jack design. The Simple Jack is Ok but I found the best design is the Nonagon which is the first design in Andrew Brown’s book, Twelve Easy Gemstone Faceting Designs. This book can be downloaded for free off of his website, www.facetingdesigns.com. This book was developed specifically to help people learn to facet designs with increasing difficulty. After cutting all twelve designs you should be a decent facetor.
To learn how to cut a faceting design an excellent book, to use in conjunction with Andrew’s book, is Introduction to Meetpoint Faceting by Robert H. Long. This book contains detailed step by step methodology on how to cut 5 designs the first being the Round Brilliant. The methodology can be used for the Nonagon but many steps can be skipped due the simpler design.
Another excellent book (2 Volumes) available from Amazon by Tom Herbst, Vol 1 The Essentials and Vol 2 Expanding your Horizons, cover all aspects of faceting and is entertaining to read.
To create your own faceting designs there are two software programs the are available to assist you:
Gemcut Studio (Gemcutstudio.com) which has a monthly fee and Gemcad and Gemray (gemcad.com) which is now free. Gemcad is the first program developed for computer gemstone design and in someways is better than Gemcutstudio for non-symmetrical designs.
Faceting Materials
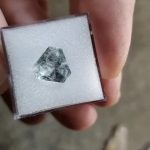
Rough Quartz Arkansas glued to a dop
I have worked with a variety of materials and still strongly recommend learning to facet using quartz. It is cheap, readily available, medium hardness, no cleavage planes, polishes nice and will produce a gem that everyone will admire.
Faceting Laps
Lightning Lap
Starting with as set of topper metal laps, 400, 600, 1200, 3000 grit + a smooth master lap and Ultralap polishing laps should be adequate to start. The 3000 grit lap needs to used so that it does not leave scratches before polishing. The club laps are still too new so we are forced to use a Lightning Lap before polishing.
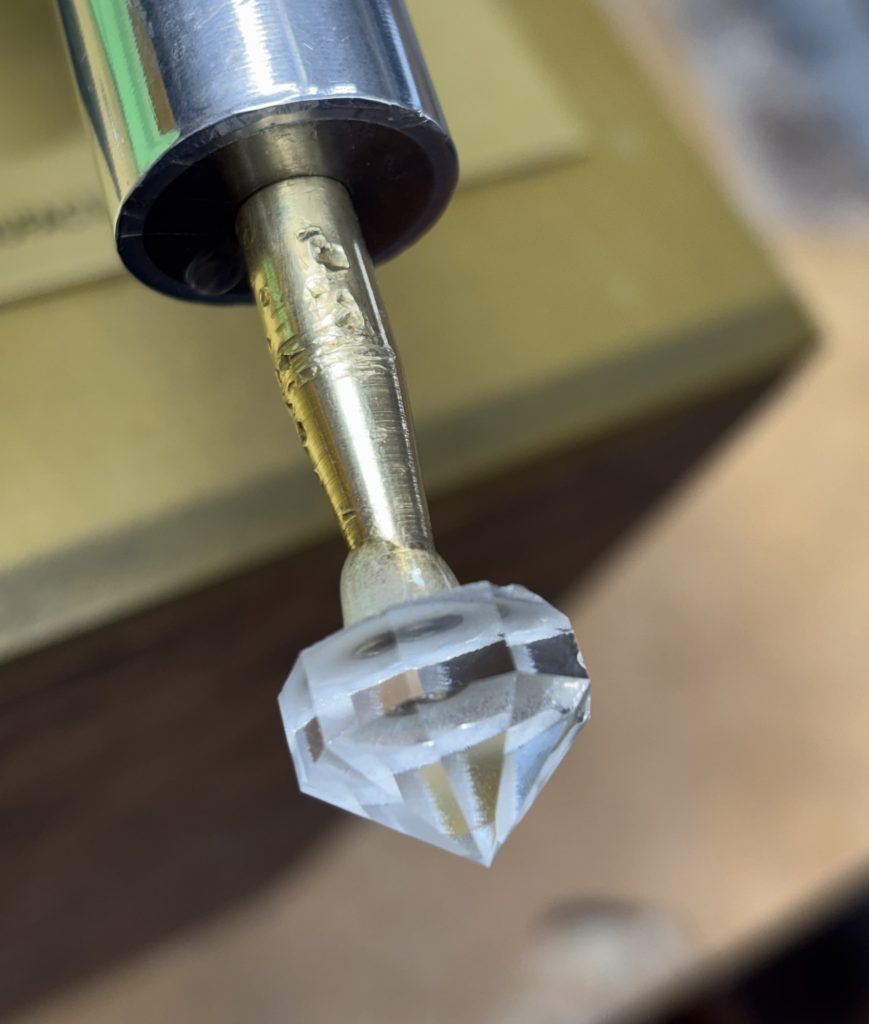
Transfer Jig
A transfer jig is used to the other side of the gem once you have finished cutting the pavilion.
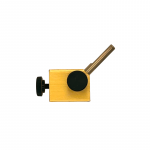
45 Degree Table Adapter
The 45 degree table adapter is used for cutting the table section of the crown (so you can cut at a 90 degree angle)
How to cut #1 Nonagon Brilliant 93
Select a piece of quartz rough about 1.5 cm diameter and cut or grind a flat surface.
Use 5 Minute epoxy and glue to an appropriate sized flat dop.
Once the epoxy is set, overnight, on a bench grinder grind close to a point at about 45° (preform).
Set up the machine to cut P1 facet on the coarsest lap, 320 or 400 grit
With the speed set at around 2, turn on water drip and use finger to spread the water across the lap and clean it.
Grind a rough point by lowering the quill with the dial at the top of the mast. Don’t cut too much at once as the larger the facet the slower the cutting. Keep rotating around while getting familiar with the index settings.
Switch to the 600 grit and grind to a rough point using the needle to the line to make a rough point (culet)
If there are large facets on the rough then set up at 90° and rough cut the girdle. When lowering the head be sure to keep a hand underneath to slowly lower!
Switch to the 1200 grit lap and cut the first three facets to the line and then make the rest meet to form a perfect point.
Now do the same on the 3000 grit lap. Make a perfect point. This is very important as any errors will get transferred to the crown resulting in challenges to make the meet points! The more perfect the culet the easier everything else will go.
Set up at 90° with the 600 grit lap. Cut a level girdle. Then again with the 1200 and 3000 grit laps.
If the 3000 grit lap is broken in then you can move to polishing. If there are scratches then a pre-polish lap is needed. A Lightning 3000 grit is perfect, there are some DynaLap discs at the shop that would work also.
To polish use a smooth Master Lap covered in drops of water and then an Ultralap on top. Use your finger to push out the air and excess water.
Polish at low speed! Only slightly faster than the minimum speed on the controller! Start the water with a slow drip and spread across the lap to cover completely and clean.
Polish the pavilion first.
To polish the girdle only the width of the final girdle needs to be polished so set up the machine at 89.9°.
Once the pavilion and girdle are polished you are ready to transfer to a cone dop.
Put a little bit of putty in the cone dop to help with release later. Put the two dops in the transfer jig and cover the cone and gem with epoxy. Leave to set overnight.
Once the epoxy is set leave in the transfer jig and heat up a knife to cut away most of the epoxy from the gem. Put the cone dop in a vice, cover the gem with a wet cloth, hold the gem tightly (I use pliers to be sure not to heat my fingers) then heat (I use a small butane torch) the dop until it falls off the gem.
If there is lots of thickness for the crown then I use the bench grinder (220-400 grit) to remove the remaining epoxy and take the sharp edge off.
Use the 1200 grit lap to cut the C1 facets establishing a level girdle slightly thicker than final.
Use the 3000 grit lap to cut to close to final girdle thickness (leave a little room for mistakes cutting C2 facets).
Use the 3000 grit lap to cut the C2 facets. Do not over cut! If you do then re-cut C1 facets making the girdle thinner. If a major mistake happens with this design it is possible to re-cut the girdle facets making the stone smaller.
To cut the table remove the dop and install the 45° adapter and set the angle at 45°. Cut the table using the 3000 lap, then polish the table.
Go back and polish the C1 facets first and adjust meet points if needed using the cheater and height adjustment.Remove the stone by soaking in acetone overnight. If you need to remove faster us a wet rag and heat the dop with a torch until the gem pulls off. Then remove remaining epoxy by soaking in acetone.
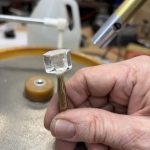
A "dopped" gem at the pavilion cutting stage
The Facetron in Action
This video shows the “table” section of the gemstone being cut. The squeaking sound is normal for this stage of gemcutting.